How to Make Homemade Cream Soda
Cream soda is a smooth and delicious treat that you can make at home to drink right away or to store over the long-term. While the process is very simple, the method that we’ll use requires water kefir as the starter culture. This may be something that some of you are not familiar with, so we’ll talk about its importance and how it can actually improve the nutritional value of this and other fruit-based sodas.
What is Water Kefir?
Water kefir is bacteria, but they are a different strain than what we find in yeast-based water cultures. The water kefir itself has a slimy, globular consistency that is similar to tapioca. However, the bacteria metabolize in such a way that produces vitamin B as well as some enzymes and amino-acids. All of these are important for our own metabolism and to support various processes in the body. While this doesn’t mean that the sodas you make will be medicinal powerhouses, every little bit of nutrition we can get is a plus, and this is a tasty option.
Getting Started
Once you have some water kefir, all you need are glass bottles with airtight clasps, some fresh, filtered water, good vanilla extract and ¼ cup of raw sugar per quart of soda. Make sure that the kefir is mature and ready to be used, otherwise the soda may not be all that fizzy or potent.
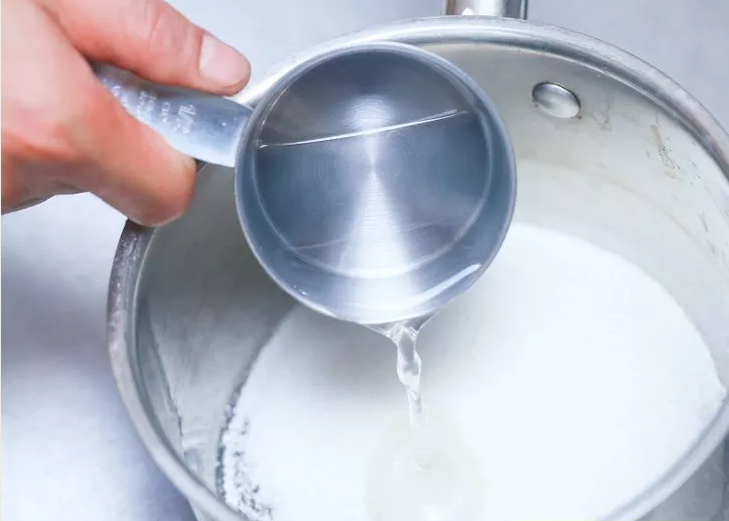
The first step is to heat up about ½ cup of water to the point where it’s just about to simmer. Remove from heat and carefully add in the sugar, stirring until it has completely dissolved. Add in the rest of the water and give it another good stir. If any granules remain, simply heat up the water until they are all dissolved.
Fermenting the Soda

Let the water cool to room temperature before adding the water kefir into an appropriate-sized mason jar based on how much you are making. Fill the jar with the water, but try to use a jar that’s large enough to provide you with a couple of inches of extra headspace. This will create some extra room for gases and bacteria to expand. Cover with a cheesecloth and secure in place with a rubber band or some string. Place the jar in a warm, sunny location for around 48 hours in order to allow the bacteria to consume enough of the sugar.
You can finish the fermentation process as long as 24 hours have passed, but the finished product will contain more sugar and less nutrients as well as “fizz”. 48 hours represents the ideal time for the bacteria to feed off of the sugar without eating it all. This makes for the perfect balance of sweetness, nutrition and freshness.
Finishing and Storage

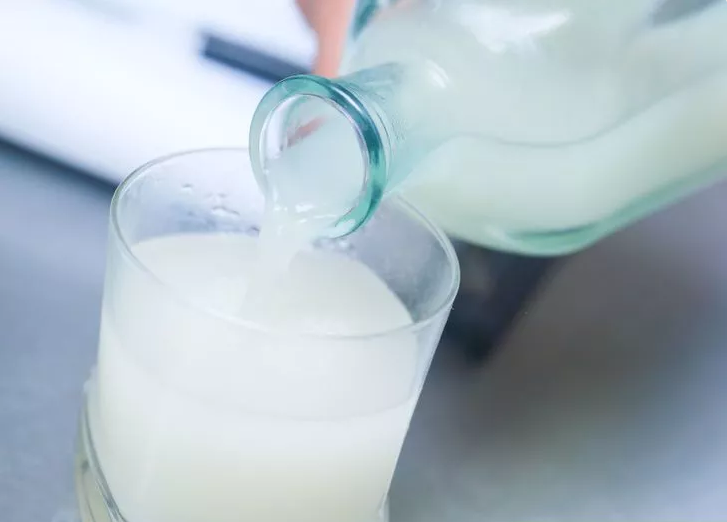
After 48 hours, strain the grains of kefir through the cheesecloth or a fine colander. You can either discard the solids or use them to make another starter batch as well. Pour the liquid into the drink bottles with a funnel, add in the vanilla, cap it off, and let it sit for another 48 hours in a warm, sunny place if possible. Once finished, you’re good to go. You can either store it in a cool, dark place for up to a couple of months, or drink it right away.
Learn more about water kefir, and how having your own cultures on hand can allow you to make all sorts of fruity sodas. The possibilities are endless, and they also make for a great addition to your emergency stockpile as an alternative to the monotony of drinking water all of the time.