How to Make a Chicken Feeder from a 5 Gallon Bucket

If you’re looking for a practical and easy way to make a chicken feeder, then this project is for you. All you need is a 5 gallon bucket, a drill, and some sort of plastic platter, and you’re good to go. Take a look at this really simple project that you can put together in just a few minutes, and you will see why it is worth its weight in gold.
![]()
Gathering the Items
You will need a round 5 gallon bucket, a drill with a ¼ to ½ inch bit, some nuts and bolts along with one of those plastic serving dishes that flower out into mini-compartments. You can easily find all of these items at garage sales or even your local dollar store.
![]()
Preparing the Bucket
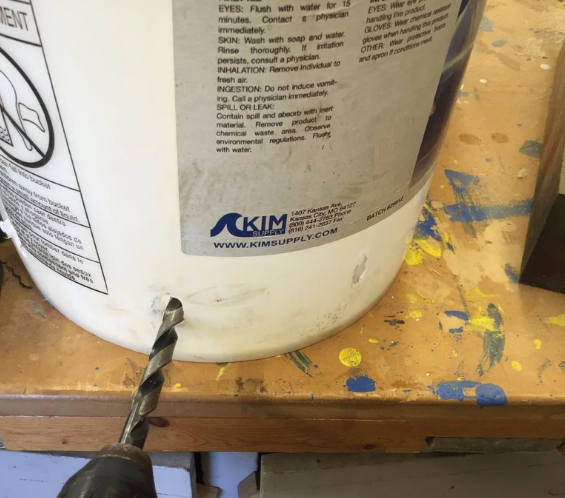
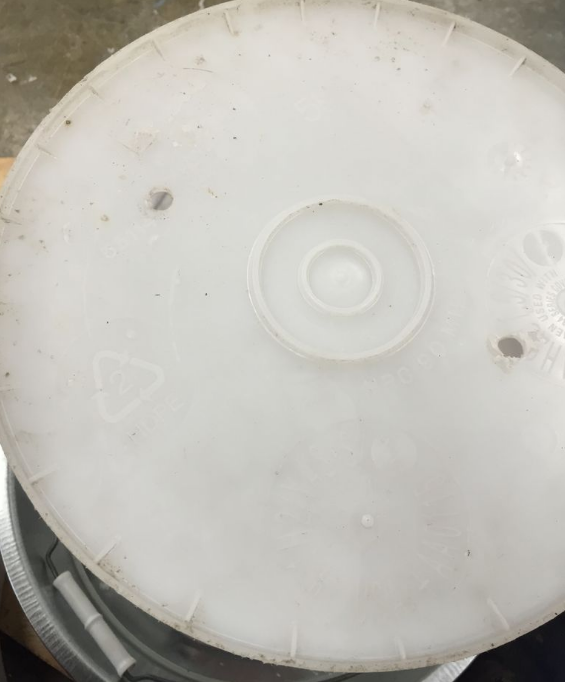
The first step is to clean and rinse the bucket thoroughly and dry it out. Then, mark a series of holes on the outside of the bottom of the bucket where the feed will drop through later. If possible, try to align the holes so they will rest over each “flower petal” of the serving dish that you’re using. If you don’t have one of these on hand, you can also use any kind of dish as long as it’s big enough for the bucket to rest on top of while creating a lip for the chickens to feed later.
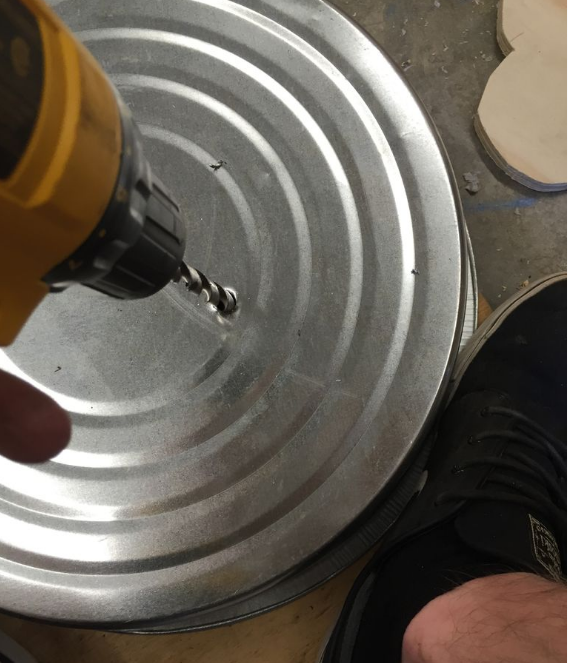
The next step is to drill a hole through the center of the dish and also the center of the bottom of the bucket. If you have a dish that has a raised center, you will be able to release more food than if it is flat. Additionally, if you invert the bucket over a flat dish, you will need to cut away sections around the bottom edge of the bucket that extends beyond the base. These notches will allow the feed to pass through the bucket and onto the dish.
Once the holes have been cut, take one of the nuts and bolts and secure it to the center holes of the bucket and dish. This will anchor it in place.
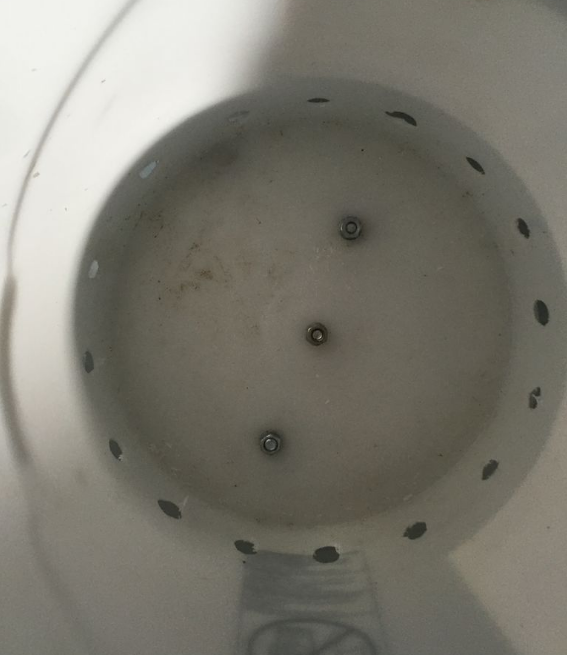
You should also consider making a couple of other holes in order to reinforce the fitting and make the unit stronger. This is especially true if the bucket wobbles or the dish wants to tilt in one direction or another. Make sure that when you attach the tray or dish that it is facing upward so the feed will fall into the bowl part.
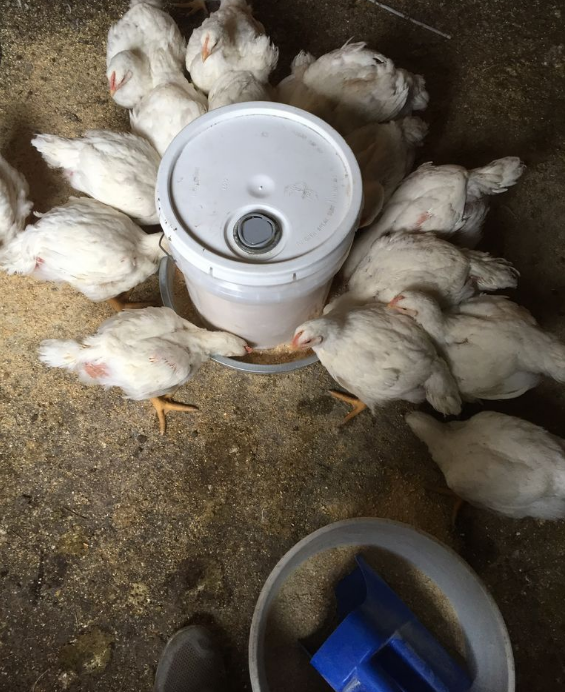
All you need to do now is fill the bucket with feed and attach the lid. Place the bucket where the chickens will be feeding and you’re all set. Nothing could be easier, and this is a great way to create a self-feeding system that can work almost anywhere. Not only that, but using the right serving tray will also help to reduce messes as well as waste.
Try this simple trick for yourself, and see how this can replace more complex projects or the need to purchase commercial products.