Basic Recipe for Pressure Canning Chili
Chili is a fantastic way to incorporate a lot of different healthy ingredients into a single meal, and you can eat it straight from the jar without any preparation during a crisis. However, it’s very important to follow some basic guidelines to ensure that the finished product is processed safely and suitable for long-term storage. Let’s take a look at a general recipe that you can use as a template for putting your own spin on this delicious addition to your emergency stockpile.
Ingredients:
4 lbs of beef chuck
¼ cup of olive or vegetable oil
6 cups of diced tomatoes, not drained
3 cups of onions, diced
3 cloves of minced garlic
6 tablespoons of chili powder
2 teaspoons of canning or kosher salt
2 teaspoons of cumin
1-2 teaspoons of oregano
1 teaspoon of crushed red pepper
½ teaspoon of coriander
Getting Started
The first step is to heat up your pressure canner and soak the canning jars in hot water until ready for filling. Since this recipe doesn’t take long to prepare, preheating everything will help to save time and preserve the freshness of the ingredients. The next step is to brown the beef in the olive oil along with some of the onions and garlic. You can either use ground beef or cube up chuck steaks depending on your preferences. If you are using cubed beef, trim the fat from the steaks before cutting.
When finished browning, drain the beef through a colander in order to remove as much of the excess fat as possible. If you don’t have a colander, you can use your spatula or turner to press the meat against the skillet in order to squeeze out the remaining fat. Transfer the beef to a stockpot and add in all of the extra ingredients. Bring the heat up to a simmer and stir until all of the ingredients are evenly mixed. Let simmer for about 5 minutes before removing from heat.
Processing the Chili

Next, carefully remove the jars from the heated water and start ladling in the chili. Make sure that you pour even amounts of the solid ingredients into each jar before adding the liquid. Fill until an inch of headspace remains. Give each jar a gentle shake to let the solids settle and excess air bubbles can escape. You can also use the handle of a wooden spatula to remove any remaining air as well. Wipe down the rims of each jar with a damp towel or cloth until they are clean before attaching and tightening the lids.
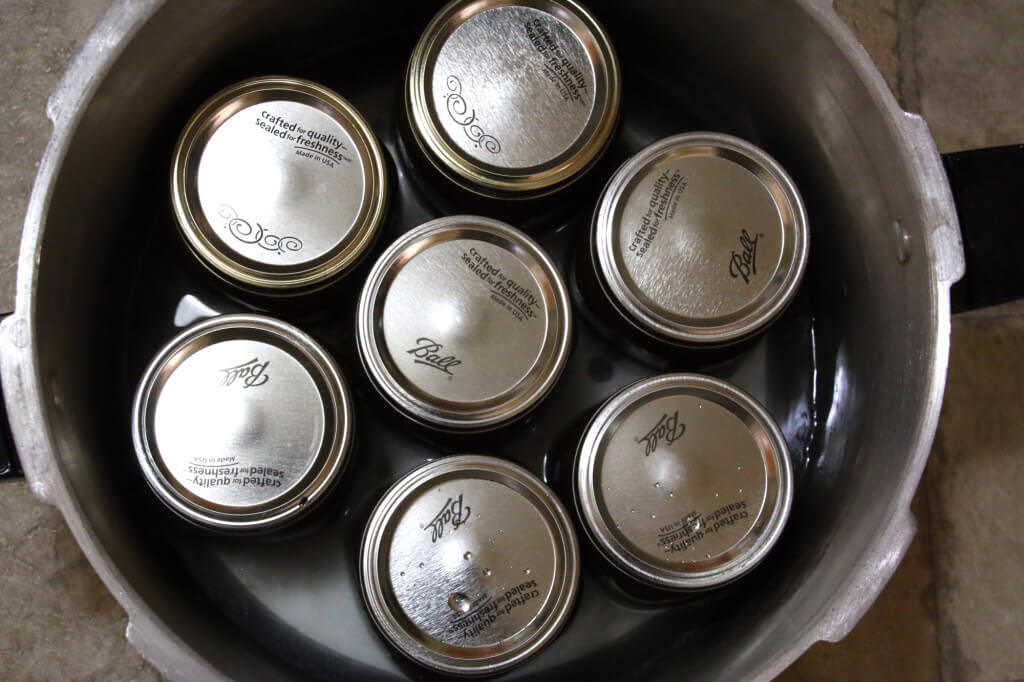
Place the jars in the canner, attach the lid and turn up the heat. Keep the vent holes open and let the steam vent for 15 minutes before sealing everything up and starting the processing time. Process the chili at 10PSI for an hour and a half, adjusting for altitude, for both pint and quart jars. When finished, remove the canner from heat and allow it to depressurize before opening the lid and removing the jars.
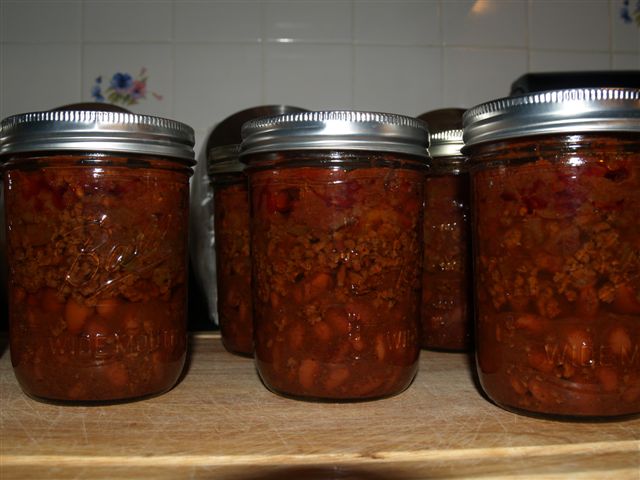
Place the jars on the counter and let cool for 24 hours until they reach room temperature. Check the quality of the seals on each one before labeling, dating and storing them in a cool, dark place. Don’t re-process or store any defective jars. Rather, consume the chili right away, or you can also keep it in the refrigerator for around 3 days as well.
Feel free to experiment with different ingredients and variations based on your tastes and preferences, and you can see first-hand how easy it is to make your own batch of survival chili.