Simple Guide to Canning Artichokes for Long-Term Storage
Artichokes are a hearty and nutritious vegetable that has a pretty defined growing season. This means that they need to be canned in order to enjoy all year long. The good news is that it doesn’t take a lot of time or effort to process them for long-term storage. Take a look at the steps below, and see how easy it is to add a batch of freshly-canned artichokes to your food stockpile.
![]()
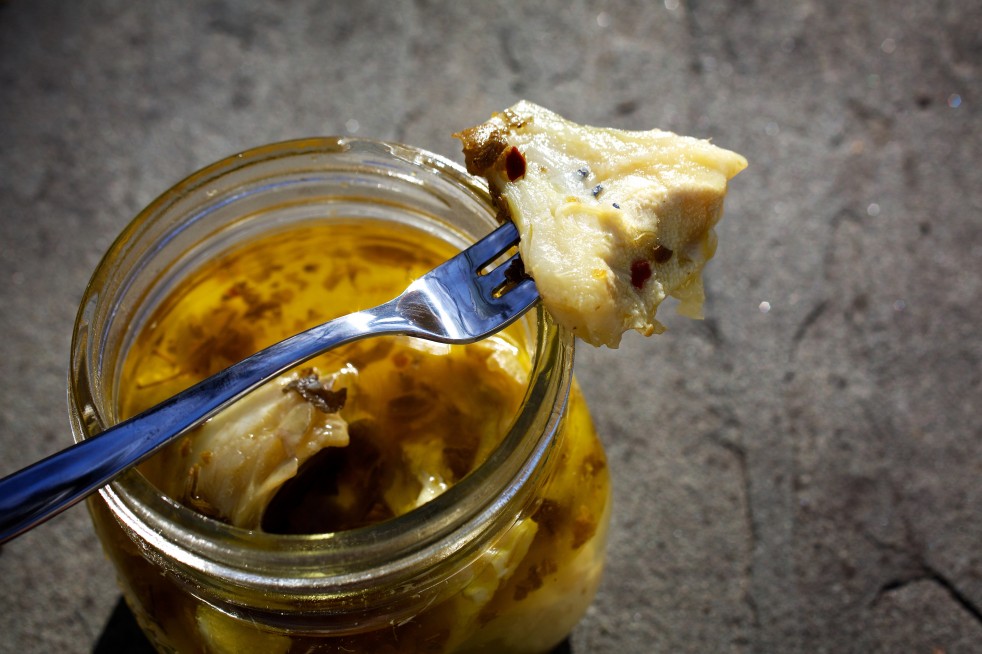
Ingredients:
Around 50 baby artichokes
1 cup of lemon juice
5 cloves of garlic
2 cups of white vinegar
1 cup of olive oil
3 teaspoons of salt
4 lemons (halved)
2 bay leaves (optional)
2-4 dried chilis (optional)
![]()
Getting Started
It’s important that you use baby artichokes instead of large ones. They’re much easier to work with and their firmness tends to hold up better in storage. You also can avoid the need to cut the larger ones into smaller pieces and spend the extra time processing them. However, you can use larger ones if smaller ones are not available.
![]()
Preparing the Brine and Artichokes
The first step is to take all of the ingredients, except the artichokes and lemons, and place them in a large stockpot. Bring the ingredients to a boil, and stir occasionally to mix everything together as much as possible. Cover and remove from heat as soon as the mixture starts to boil. Next, fill a large bowl up with cold water and squeeze in the juice from the halved lemons. Add the lemons to the bowl and allow them to soak in the water as you continue this recipe.
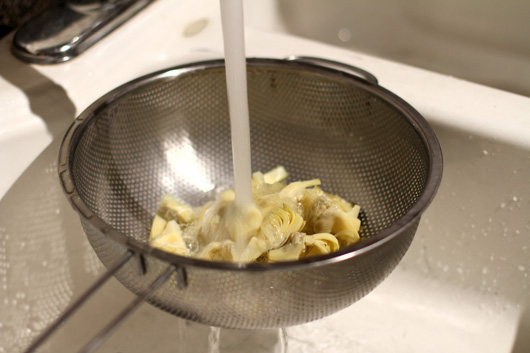
To prepare the artichokes, thoroughly rinse and pat them dry before removing the outer skin. Peel off as much of the outer layers as you can until you get closer to the core and the pieces are densely-packed and start turning into a yellowish-green color. The next step is to chop off the tops of the artichokes before trimming around the bottom without cutting it off. You want this little nub to remain as it will help to prevent the hearts from unraveling.
Take one of the lemon pieces and place each artichoke heart inside and squeeze. This will cause the acidic juices from the lemon to infuse into the artichoke heart, and this plays a key role in their preservation. Once you’ve rubbed the artichoke, let it soak in the lemon water. Repeat for all of the artichokes. If you need a larger bowl or container, feel free to transfer everything in order to ensure that the artichokes are properly “pre-treated” before processing. Add the artichoke hearts to the brine and bring the liquid back up to a boil as you stir occasionally.
![]()
Processing the Artichokes

Make sure that you are soaking or heating your mason jars in advance so they won’t crack as you fill them up. Remove the jars, one at a time, from the heat source and fill ¾ the way up with artichokes. Then, pour over the brine until ¾ inch of headspace remains. If you need more brine, add equal parts of vinegar and oil to each jar.
Give the jars a little jiggle to remove any air bubbles before wiping down the rims with a damp cloth. Attach the lid assemblies and process in a water bath canner for 15 minutes. However, you may need to add a few minutes to the processing time if you are using larger pieces instead of baby hearts.
When finished, remove the jars and allow them to cool until they reach room temperature. Check the seals jars for any defects before labeling, dating and storing the artichoke hearts. Store them in a cool and dark place until ready for consumption. You can expect a shelf life of more than a year if the artichokes are processed and sealed properly.
Canning is a great way to build a stockpile of artichokes that you can enjoy year round, and there are many variations to this basic recipe that you can use. Try making your own batch today, and see how it makes for a great alternative to store-bought products.
